Global Parameter Setting
Global Parameter Setting is used to configure the parameter process in the system generally until certain modules. To enter this menu, go to Setting > System Setting > System Parameter > Global Parameter Setting. When entering this page for the first time, the available columns have not yet filled with data, or only filled with default data. The required columns are marked with asterisk *, besides it can be neither filled nor selected. This menu has some tabs appeared based on the menu which is bought through portal, which are:
- Application Tab
This tab is shown only in Admin Main Instance which functions to configure.
- System Parameter Tab
This tab functions to configure the system especially for each company system specifically.
- Employee Setting Tab
Configure the function for employee module specifically.
- Organization Setting Tab
Configure the function for Organization module specifically.
- Career Administration Tab
Configure the function for Career Administration module specifically.
- Attendance Setting Tab
Configure the function for Time Attendance module specifically.
- Payroll Setting Tab
Configure the function for Payroll module specifically.
- Performance Setting Tab
Configure the function for Performance module specifically.
- Applicant Setting Tab
Configure the function for Applicant feature specifically.
- Theme Editor Tab
Configure the display for company's account.
Application Tab
This tab is only shown for Main Instance. Main Instance is the main account server which is used by Admin. This function is divided into two parts, which are Application Parameter and Configuration.
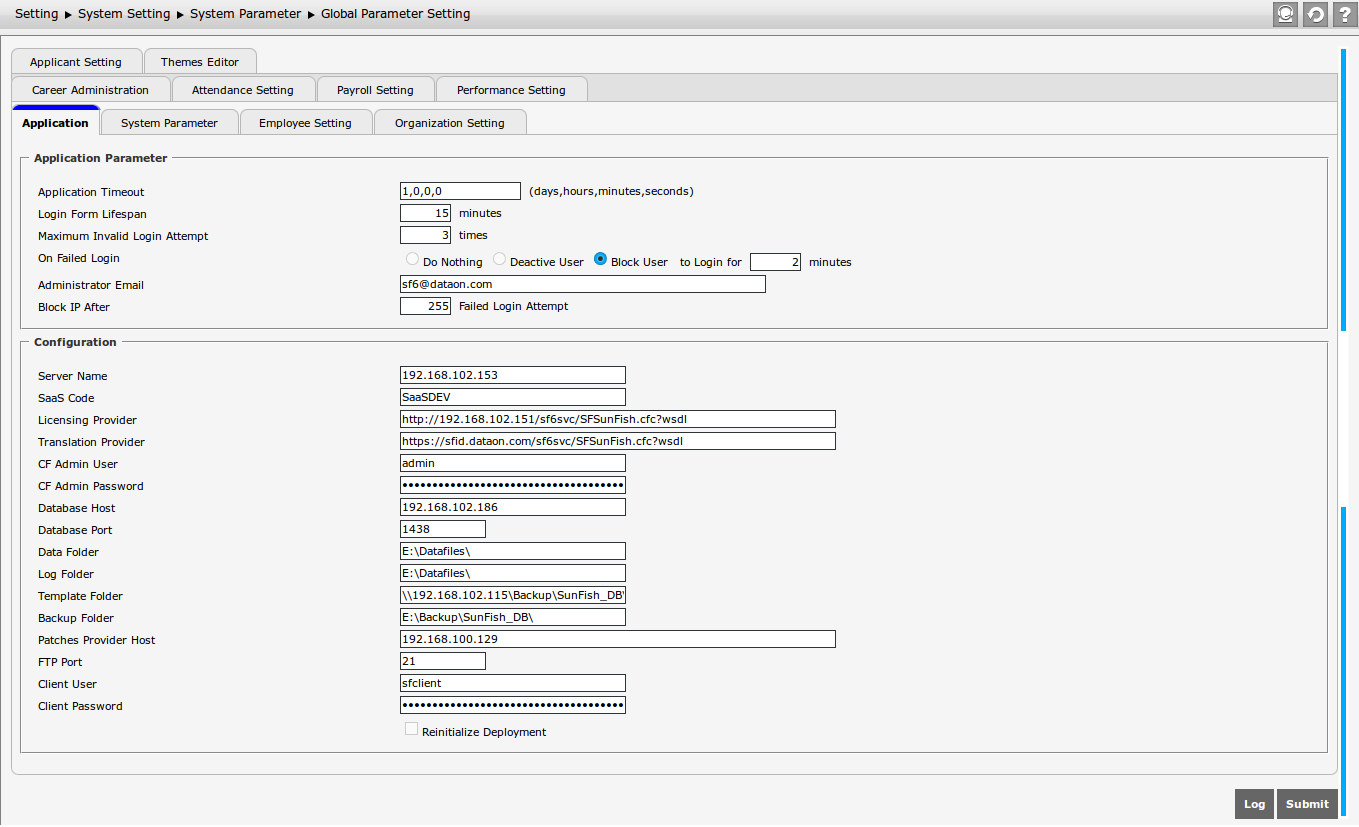
The Application Parameter comprises several functions which are:
- Application Timeout
It is an expiration time of the application's variables in server. The application' variables are datasource, global setting, instance name, path, license, and so on. The user can fill the length of application session with number and separated with comma to differ day, hour, minute, and second. - Login from Lifespan
It is the expiration time of login page; when the browser shows the login page and it is not used for a while, then user needs to refresh the login page. - Maximum Invalid Login Attempt
The number of login's attempt given to the user. If the login's attempt has been used up and it does not work, then do On Failed Login. - On Failed Login
In On Failed Login field, there are several options can be used if user cannot log in; Do Nothing, then the user is not given any warning; Deactive User, then the user who are failed to log in will be deactivated; Block User, then the user who cannot log in with the correct username and password will be blocked by the system. - Administrator Email
It must be filled with the Email address used by the System Administrator. - Block IP After
It functions to block the account which is used to log in after (x) times login failed.
The second function of Application tab is configuration, which is used to configure the system code used in SunFish Saas Engine. This function comprises:
- SaaS Code
Filled with Saas Code function code used in SunFish SaaS Engine. - Licensing Provider
Filled with the provider's link in local server used as an access file license, "sf6svc/SFSunFish.cfc?wsdl". - Translation Provider
Filled with the provider's link in online server used with "sf6svc/SFSunFish.cfc?wsdl" access file. - CF Admin User
Filled with user name from administrator for CF or Cold Fusion server. - CF Admin Password
Filled with the password used by administrator to log in the CF or ColdFusion server. - Database Host
Filled with the link or access from the database which functions as a host in ColdFusion server. - Database Port
Filled with Port used to access the database. - Backup Folder
Filled with the link or address in which the database is backed up. - Data Folder
Filled with the link or address in which the source code file is stored. - Log Folder
Filled with the link or address in which the log is stored. - Patches Provider Host
Filled with the link or address from "patch" data. - FTP Port
Filled with Access Port used in File Transfer Protocol (FTP). - Client User
Filled with the user name from the main client user setting. - Client Password
Filled with the password used by the main client user setting.
Once it is done, click ![]() to make changes to Application tab. Click
to make changes to Application tab. Click  to view the user's record and the history which modify the Application tab.
System Parameter Tab
It functions to configure the parameter from the application especially for the company or client.
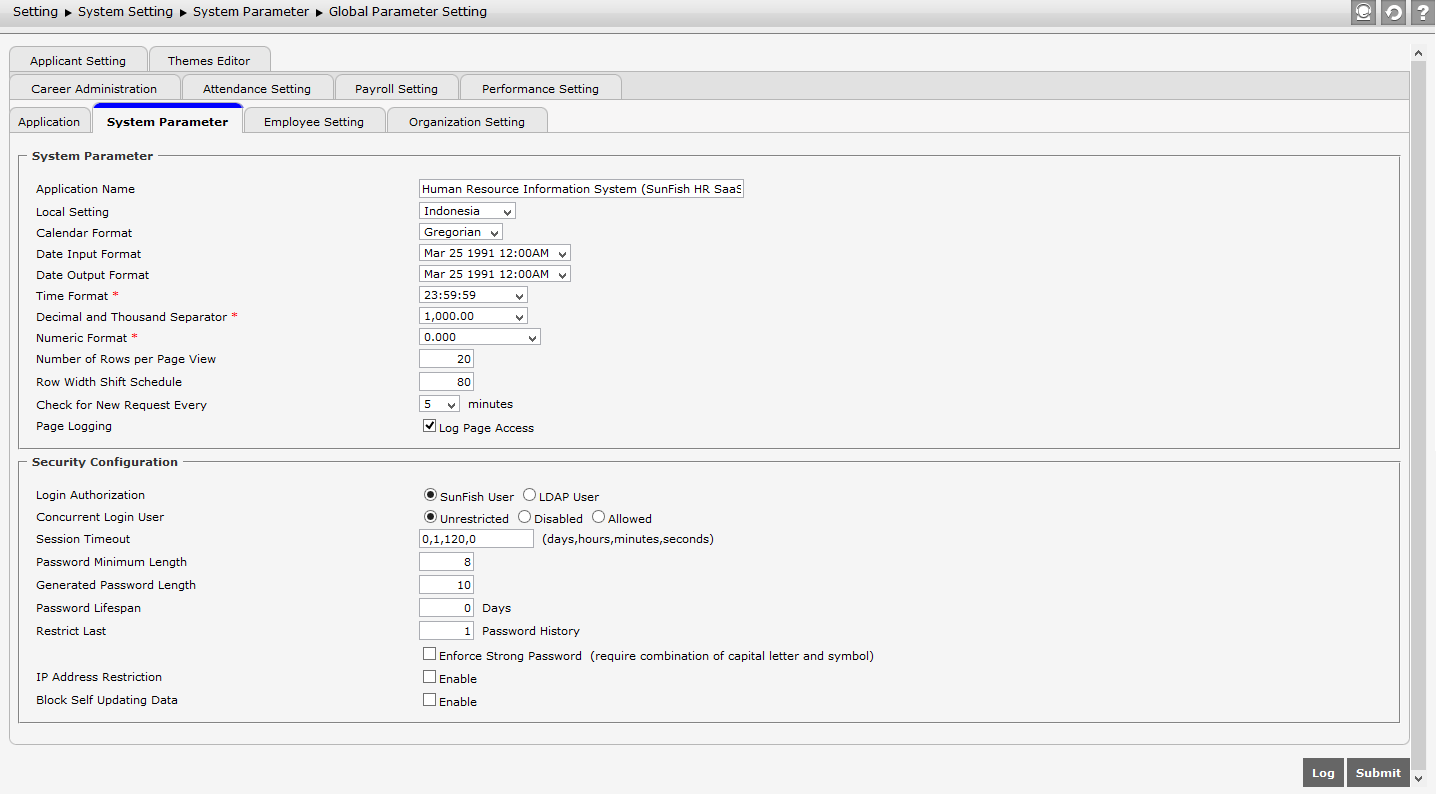
This function consists of:
-
Application NameApplication Name is the name used by the system. Besides, the user can find the application name when moving the cursor to the browser that is currently used to open the application.
-
Page LoggingIt is used to record each log in accessing the page when the check box is selected. However, if it is not selected, it will not be able to record each page access log.
-
Local SettingIt is used to set the language and regional conventions. There are two provided options, American English and Bahasa Indonesia.
-
Calendar FormatCalendar Format is used to select the usage of calendar between Gregorian and Buddhist. The difference is, the Buddist calendar format is added with 543 years from Gregorian calendar format. For example, if the current year is 2013, the Buddhist calendar format will be 2556.
-
Date Input FormatIt is used to determine the format of date inputted by user.
-
Date Output FormatIt is used to determine the format of date displayed on the system.
-
Time FormatIt is used to determine the format of time used and displayed by system.
-
Decimal and Thousand SeparatorIt is used to determine the format of decimal number and thousand number.
-
Numeric FormatIt is used to determine the Numeric format and the decimal description behind comma.
-
Number of Rows per Page ViewThe number of rows per page view refers to the number of Record rows that must be displayed on each page screen. Delete the number and type in the new data.
-
Number of Rows per FilterThe number of rows per filter refers to the number of employee shown on the left box of employee filter. The recent function of this feature is for menu Setting > System Setting > Access Management > Authorized User > Authorized User tab.
-
Row Width Shift ScheduleIt refers to the width of the record row displayed on each screen page. Edit the existing width with the right one.
-
Check for New Request EntryIt functions to check the new request in a certain period of time in minutes.
-
Login Authorization
It is the Login Authorization to enter the system is based on two types:- SunFish Login
Based on the access obtained in SunFish Application. - LADP Password
Based on LADP (Lightweight Directory Access Protocol)ypesLADP PasswordBased on LDAP (Lightweight Directory Access Protocol) - Integration SAML
Based on SAML Username and Password
- SunFish Login
- Concurrent Login User
It functions to limit the total of user allowed to log in the system. This function is divided into 3:- Unrestricted
It is intended that there will be no limit from the system for user allowed to enter the system. - Disabled
It functions to deactivate this function. - Allowed
It allows the total of user allowed to log in the system.
- Unrestricted
- Session Timeout
It is the configuration if application is not used within a predetermined time, then the application will be automatically logged out. This field is filled the same way with the Application Timeout, which uses number and separated with comma. - Password Minimum Length
It is the minimum limit of password to enter the system. - Generated Password Length
It is the length of password generated for new user or resetting the password. - Password Lifespan
It is used to determine the lifespan a password can be used. If it is set 0, then password will be valid for the unlimited period of time. - Restrict Last
It is intended that user cannot use the same password before passing the determined history. - Select Enforce Strong Password, then the inputted password must be combined with capital letter, number, special character, and the password length is according to Password Minimum Length.
- IP Address Restriction: Select "Enable", then the following options will appear.

- Login: Select Login, then the login validation will be based on IP address registered in Registered IP Address.
- Attendance Entry: Select Attendance Entry, then the IP address registered in Registered IP Address is not given access to Attendance Entry Form menu.
- Update Salary Data: Select Update Salary Data, the IP address registered in Registered IP Address is not given access to Employee Salary Data menu.
- Allow Users to register their IP Addresses: Select "Yes", then user is given opportunity to register the unregistered IP address. A pop-up page of IP address registration will appear when login is failed because the IP address has not been registered. Once user has registered the IP address, then the IP address will appear on Registered IP Address with status "Pending".
- Block Self-Updating Data: Select the checkbox to block the administrator to perform self-updating data on the following menus.
Once it is done, click ![]() to make changes to System Parameter tab. Click to view the user's record and the history which modify the System Parameter tab.
to make changes to System Parameter tab. Click to view the user's record and the history which modify the System Parameter tab.
Employee Setting Tab
This tab is used to configure the parameter that is related to Employee module, which is Custom Field. The Employee Setting tab will look like the following.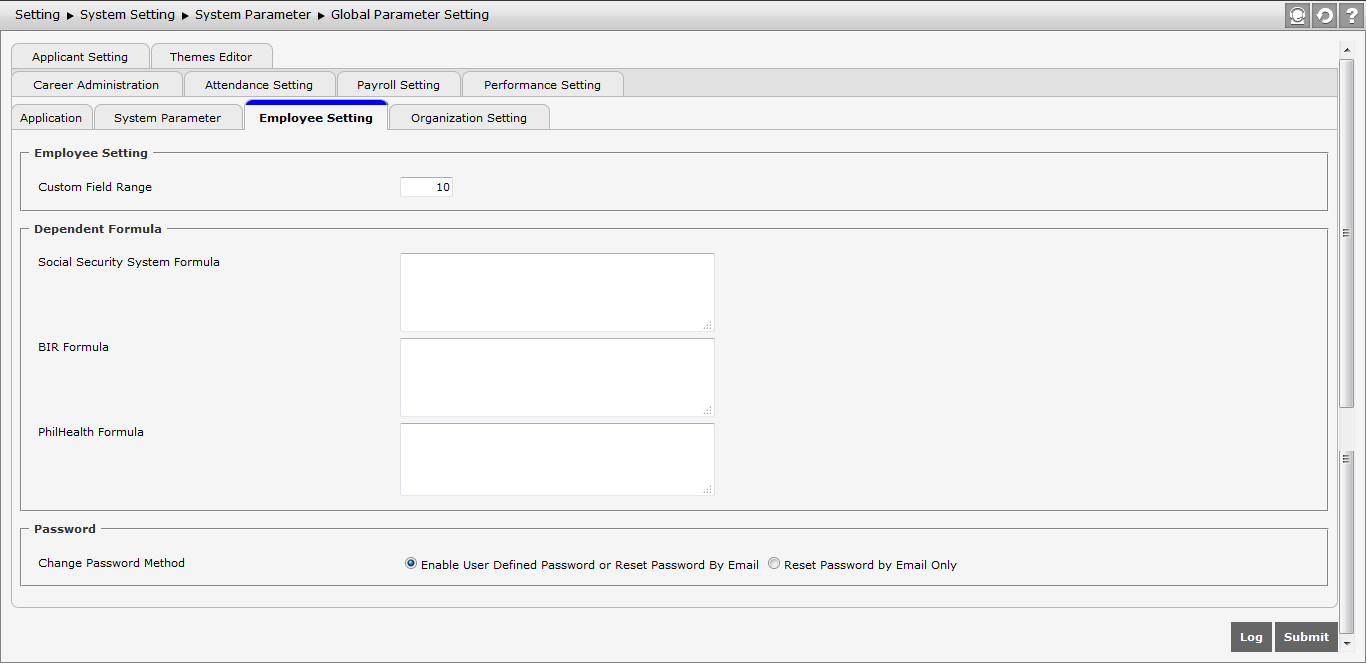
This function consists of three parts:
- Employee Setting
The Custom Field here is used to determine the field user wants to create. If it is filled 10, then the page of Custom Field Upload can be uploaded until 10 fields.
- Dependent Formula
This part consists of three formulas of employee's family dependents for Philippines, which are Social Security System (SSS) Formula, BIR Formula, and PhilHealth Formula, which are related to . For example, a formula is created in BIR Formula, stating that only the employee with Single status will get BIR Dependent type. If an employee has BIR Dependent type when he/she is single and then the employee status changes to Married, therefore the system will automatically verify the BIR dependent type according to BIR Formula and the employee with Married status will not get the BIR Dependent type.
- Password
There are two options to change the password for administrator and user, which are:
- Enable User Defined Password or reset Password By Email: If it is selected, then the page of Profile access will show two options to change the password, which are Reset Password By Email and User Defined Password.
- Reset Password By Email: If it is selected, then the page of profil access will only show one option to change the password, which is Reset Password By Email.
Once it is done, click  to make changes to Employee Setting tab. Click to view the user's record and the history which modify the Employee Setting tab.
Organization Setting Tab
Organization tab functions to configure the depth level of organization and its sub level in Organization module. The following is the page display of Organization Setting tab.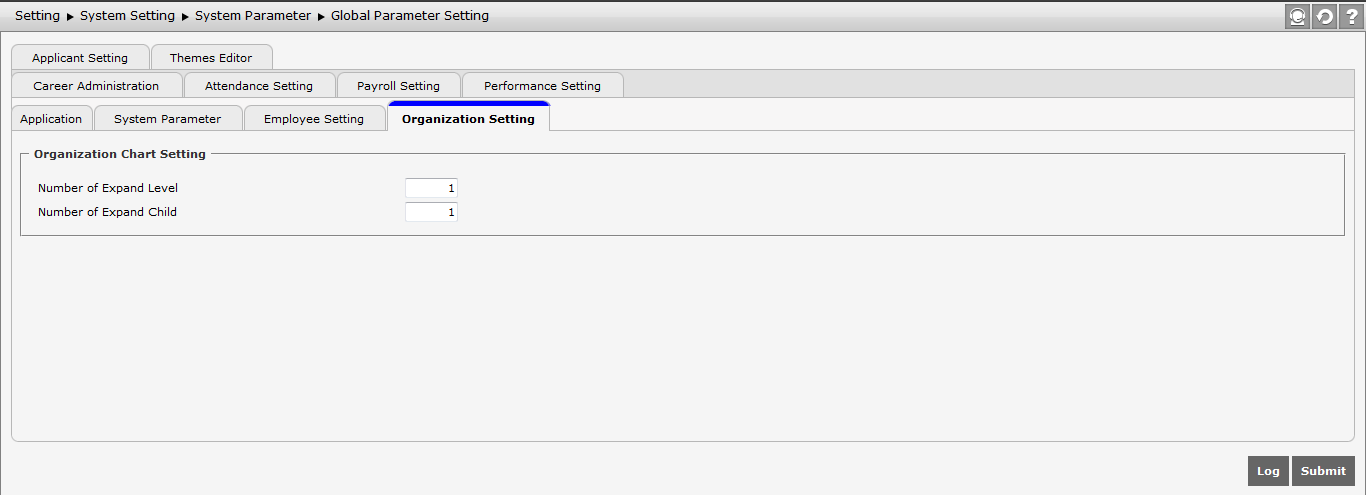
Once it is done, click to make changes to Organization Setting tab. Click to view the user's record and the history which modify the Organization Setting tab.
Career Administration Tab
This tab functions to configure the method of employee join record in Career Administration module. There are two method options that can be selected, Automatic and Manual. The page display of Career Administration tab looks like the following.
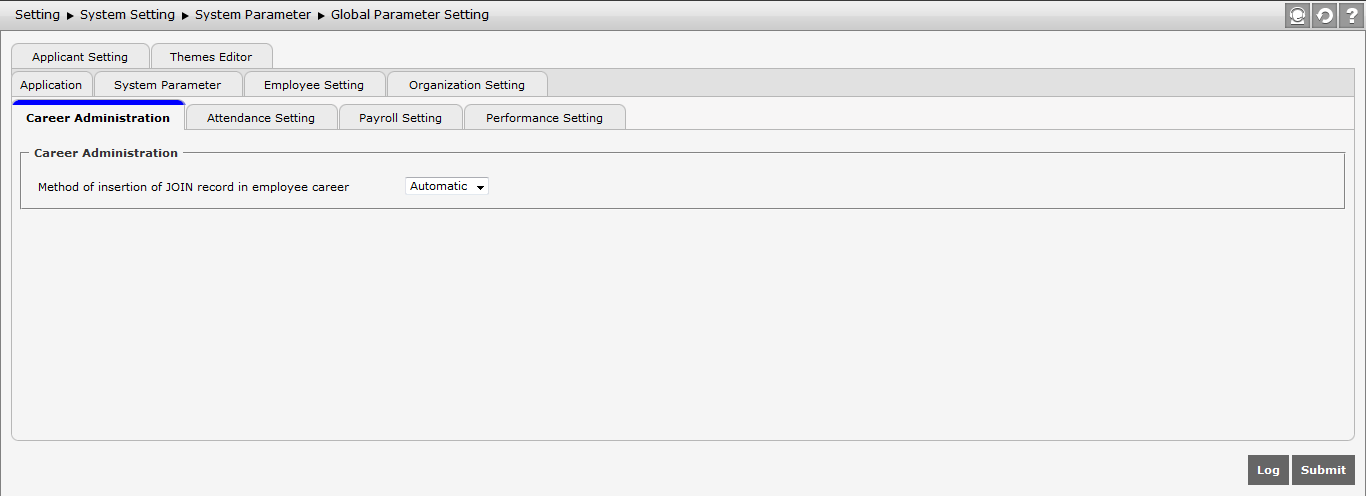
The change in this tab can be seen in Employee Career History, which can be opened by going to Career Administration > Career Transition and clicking the Employee No. that has been just created. If user chooses Automatic, then there will be a JOIN record of that employee there. However, if user chooses Manual, then the JOIN record has not appeared there.
Once it is done, click to make changes to Career Administration tab. Click to view the user's record and the history which modify the Career Administration tab.
Attendance Setting Tab
This tab functions to maintain the total of data displayed on Attendance Interface Process. The page display of Attendance Setting tab looks like the following.
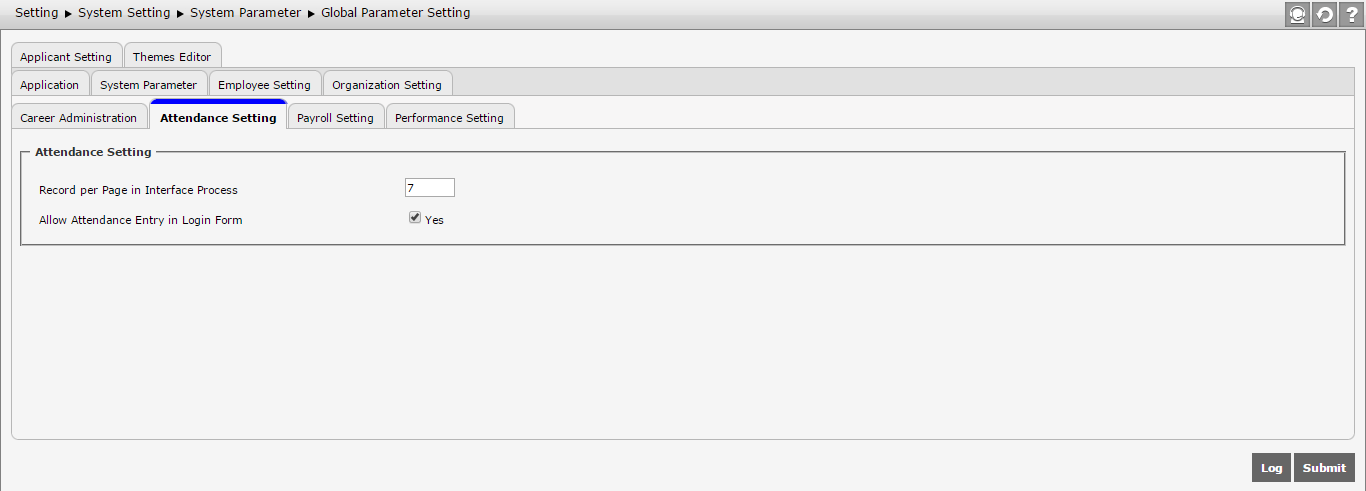
- Record per Page in Interface Process
Determine the total of data per page that will be displayed in attendance interface process by typing the number as the user wishes.
- Allow Attendance Entry in Login Form
Select "Yes", then
 button will appear on the Login page. The button functions to start time and end time. If it is not selected, then button will not appear on the Login page.
Once it is done, click to make changes to Attendance Setting tab. Click to view the user's record and the history which modify the Attendance Setting tab.
Payroll Setting Tab
This tab is used to configure parameter related to payroll. The display of Payroll Setting tab will look as the following.
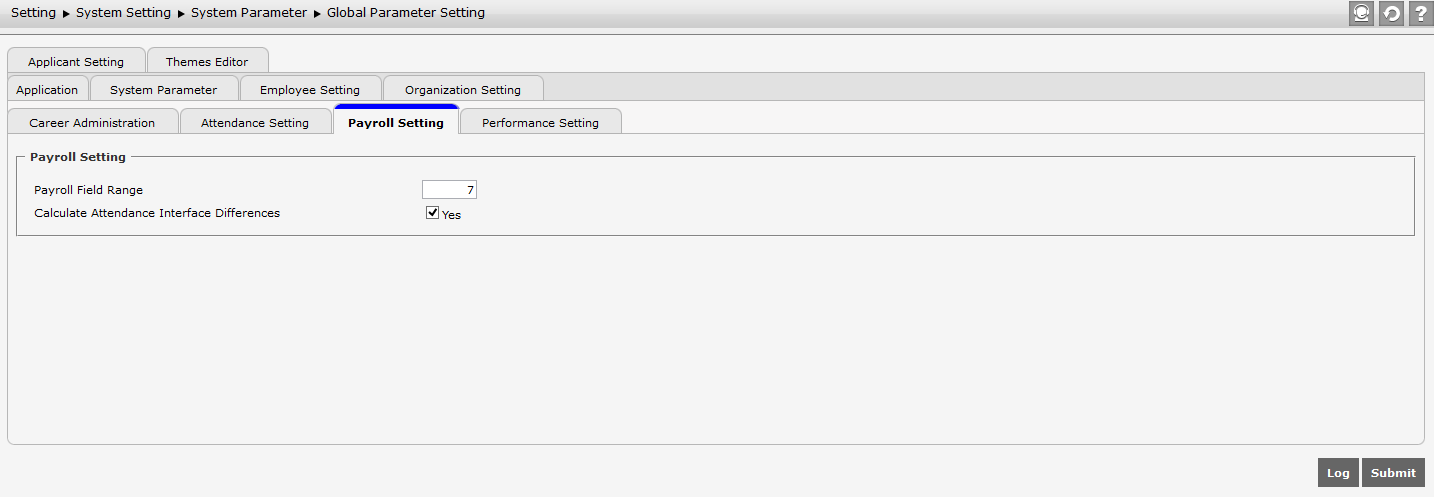
There are some configurations that can be set, which are:
- Payroll Field Range: Determine the range of payroll field that can be added. This determination will affect the payroll field that can be set in Setting | Payroll Setting | Payroll Field Setting.
- Disable Offboarding for Payment Process: This feature can be used as options to do normal feature, hold process and hold transfer to process payroll of the terminated employee. Select Yes for offboarding process in Payroll | Payroll Process | Payment Process for the terminated employee.
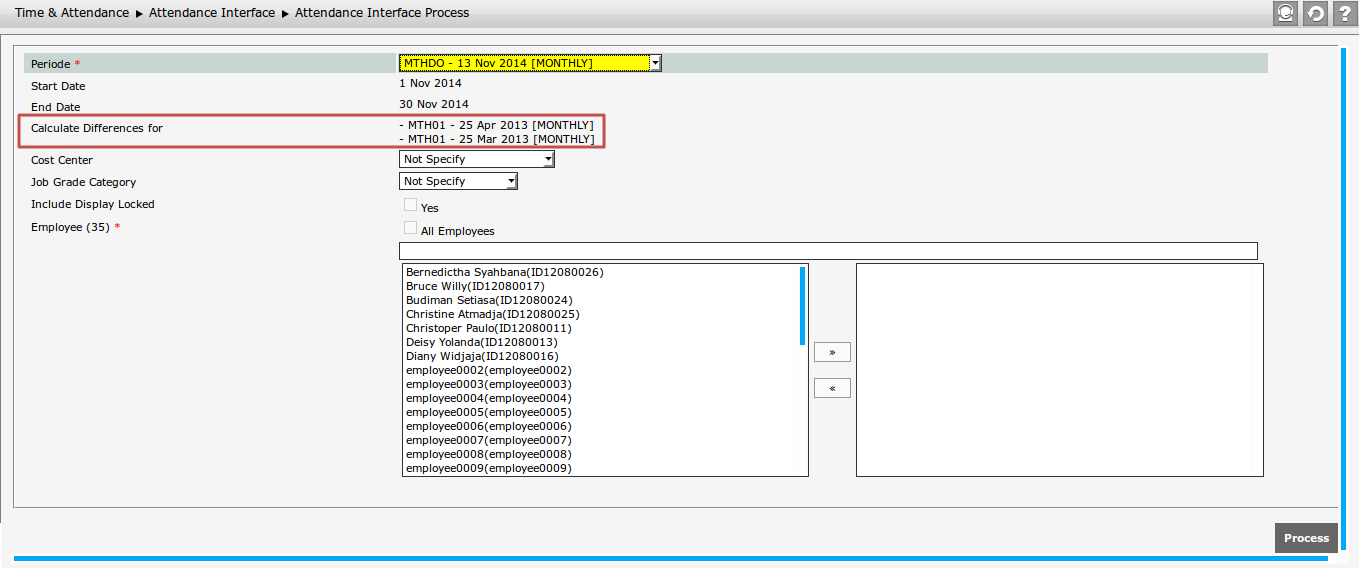
- Calculate Attendance Interface Differances: Select "Yes" if user wants to display the calculation differences of attendance interface that can be seen on Time Attendance | Attendance Interface | Attendance Interface Process at the field of Calculate Differences For. This field is used to show previous payroll period of which attendance interface has been processed. When user reprocesses the attendance interface of current period, then it will also calculate the calculation differences of previous attendance interface.
Once it is done, click to make changes to Payroll Setting tab. Click to view the user's record and the history which modify the Payroll Setting tab.
Performance Setting Tab
In this tab, there is a field named Max Competence Point which functions to determine the maximum value that will be used in choosing the Competence Point Value in Competence Library.
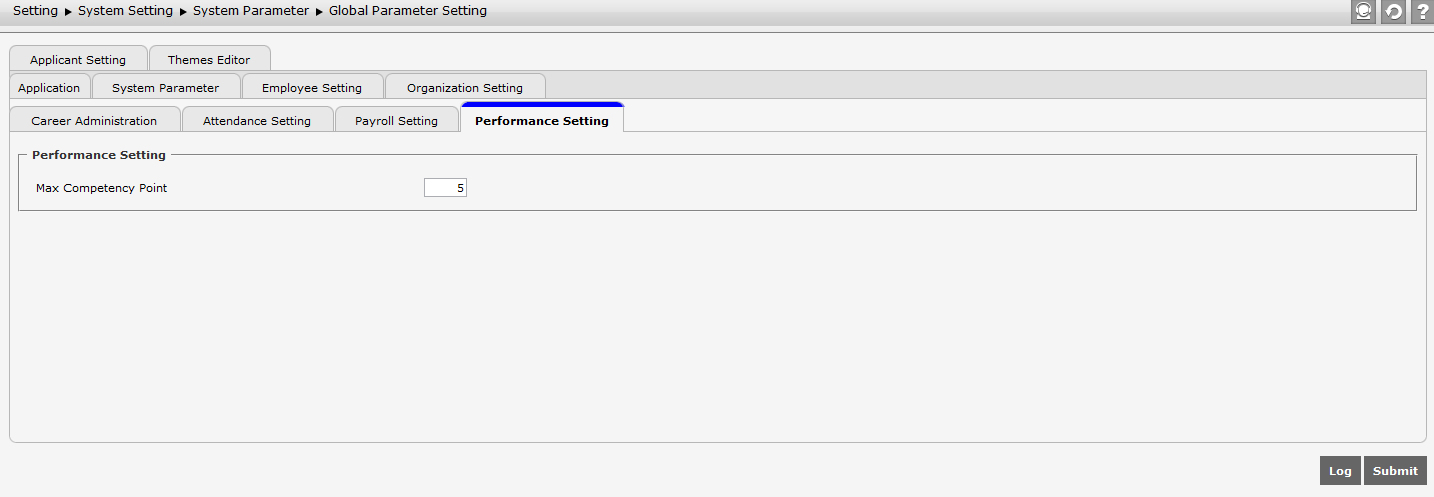
Once it is done, click to make changes to Performance Setting tab. Click to view the user's record and the history which modify the Performance Setting tab.
Applicant Setting Tab
This tab has Applicant Field Range field which functions to determine the default total number of additional fields used in Setting > Recruitment Setting > Additional Field.
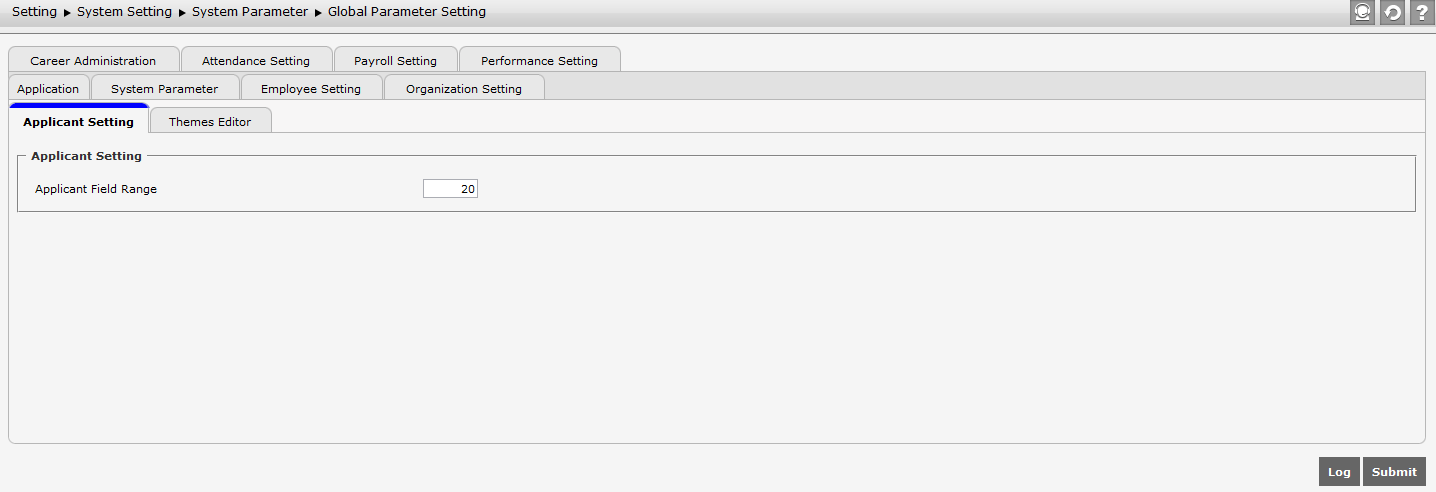
Once it is done, click to make changes to Applicant Setting tab. Click to view the user's record and the history which modify the Applicant Setting tab.
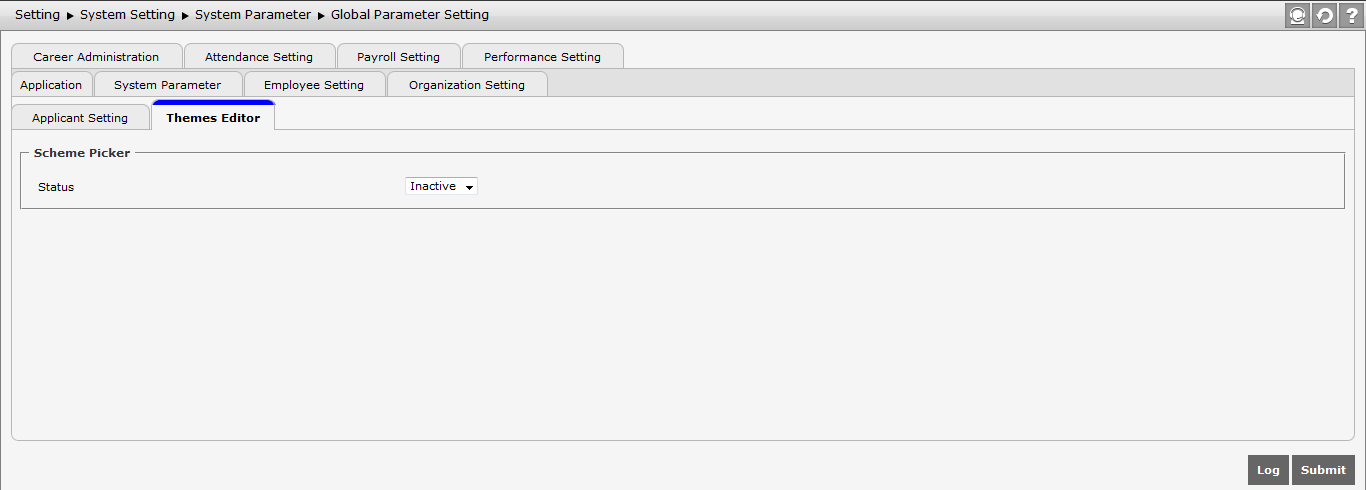
Theme Editor Tab
This menu functions to change the display of theme in SunFish page, by setting it to be active. To get this menu, make sure that user has selected the Feature Development Kit in SunFish Registration page. To access this menu, go to Setting > System Setting > System Parameter > Global Parameter Setting and open the Theme Editor tab, the the following display will appear.
This tab consists of the following functions:
- Scheme Picker
This part functions to determine the status of Theme Editor. At Scheme Picker, there is Status field that functions to activate or deactivate all functions in Theme Editor.

If Inactive is selected, then all themes in SunFish application will stay on the default theme. Whereas, if active is selected, then this tab will show the following parts.
- Application Color Scheme
This part functions to manage the coloration in SunFish application, which consists of:
- Default Color Selection
This part is used to set the combination of colors provided by the system which contains:
- Green #74AB21 and Moderate Green #98CB4A
- Strong Blue #025BC0 and Vivid Blue #3399FF
- Dark Blue #006699 and Strong Cyan #2CA8C2
- Dark Red #A52A2A and Dark Moderate Red #B04F4E
- Pure (mostly pure) Orange #FFBB00 and Bright Yellow #F7D842
- Light Grayish Red #FAD7D1 and Very Pale Red #FFE1E3
Click one of the provided colors to be used as application color scheme in the system.

- Default Color Selection
- Header Background
This part is used to manage the background display at Header, which has three options as shown below.

- Use Default Header
It means that the header will use the default background from the system.
- Use Custom Header (No Repeat)
When this option is selected, then there will be a "Browse" button which functions to upload the picture as background of the header. When the picture is uploaded with "no repeat", then it means that the uploaded picture will be resized with maximum resolution of 57px; so that the picture will be at the left side behind the company's logo without any picture repetition until the top-right side of the page. If any picture was uploaded before, then the picture file name "cust-header-ornament-bg.png" will appear above the "Browse" button. Note that every file name of picture uploaded will be changed to "cust-header-ornament-bg" and the file type will be changed to ".png" format. Everytime the user uploads a new picture, it will overwrite the old picture.

- Use Custom Header (Repeat)
When this option is selected, then there will be a "Browse" button which functions to upload the picture as background of the header. When the picture is uploaded with "repeat", then it means that the uploaded picture will be resized with maximum resolution of 57px; so that the picture will be repeated until the top-right side of the page. If any picture was uploaded before, then the picture file name "cust-header-ornament-bg.png" will appear above the "Browse" button. Note that every file name of picture uploaded will be changed to "cust-header-ornament-bg" and the file type will be changed to ".png" format. Everytime the user uploads a new picture, it will overwrite the old picture.

- Use Default Header
- Primary Color (*)
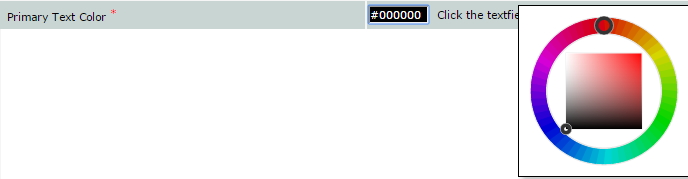
It functions to change the existing colors of navigation and title bars in SunFish application. To fill the color that will be used, determine the color by typing hashtag ("#") beforehand, then adding the number with the combination of "0-9" and alphabet "a-f" (either capital or not). User can also double click on the textfield to show the color wheel in order to select the color.

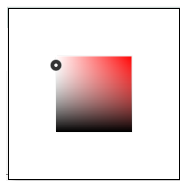
To use Color Wheel, select the color that will be used in advance by pointing it from the Color Wheel which is beyond the color gravitation box in the circle.
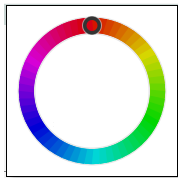
After master color has been selected, user needs to choose the color from color box in order to determine the color degradation that will be used by pointing and clicking the color degradation provided.
- Primary Text Color (*)
It functions to change the color of text at navigation bar and menu name. The color selection and the using methods are the same as Primary Color.
- Pick Secondary Color
It is used to select the secondary color used in SunFish application. When it is selected, then the following fields will appear to select the secondary color.
- Secondary Color
It functions to manage the different coloration with details of:
- Secondary Color: Header of table/grid, header form.
- Color Degradation: Grid/table content, page of form content.
- Secondary Text Color
It functions to manage the coloration of the application.

- Menu Icon Set
It is used to change color of icon from dark (Very Dark Grey #353535) to bright (White #FFFFFF).

- Toolbar Icon Set
It is used to change color of icon from dark (Very Dark Grey #353535 ) to bright (White #FFFFFF).

- Login Page Editor
It functions to manage the change of existing color and background in Login page. It consists of some parts:
- Background Color
This part functions to change the color in login page. The color selection is the same as Primary Color.
- Background Images
It functions to change the existing picture in Login page with the following conditions:
- When it is not selected, then the background will use the default setting from the system; furthermore, the Change Login Page Layout button cannot be clicked or is disable.
- When it is selected, then
 button will appear. This button functions to upload the picture into the server and to overwrite the existing picture. If any picture was uploaded before, then the picture file name "cust-login-bg.png" will appear above the "Browse" button. Note that every file name of picture uploaded will be changed to "cust-login-bg.png" and the file type will be changed to ".png" format. The Change Login Page Layout button will be able to be used.

- When it is not selected, then the background will use the default setting from the system; furthermore, the Change Login Page Layout button cannot be clicked or is disable.
- Logo Image
It functions to change the existing logo in the login page with the following conditions:
- When it is not selected, then the background will use the default setting from the system; furthermore, the Change Login Page Layout button cannot be clicked or is disable.
- When it is selected, then button will appear. This button functions to upload the picture into the server and to overwrite the existing picture. If any picture was uploaded before, then the picture file name "ust-login-logo" will appear above the "Browse" button. Note that every file name of picture uploaded will be changed to "ust-login-logo" and the file type will be changed to ".png" format. The Change Login Page Layout button cannot be used if the Logo image is selected, while the Background Image is not selected.

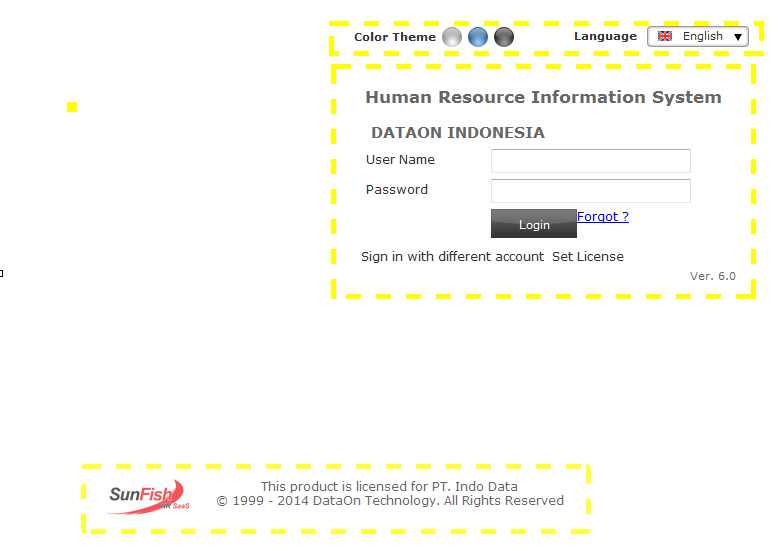
- Change Login Page Layout button functions to manage the position and the coloration of the form in the login page.
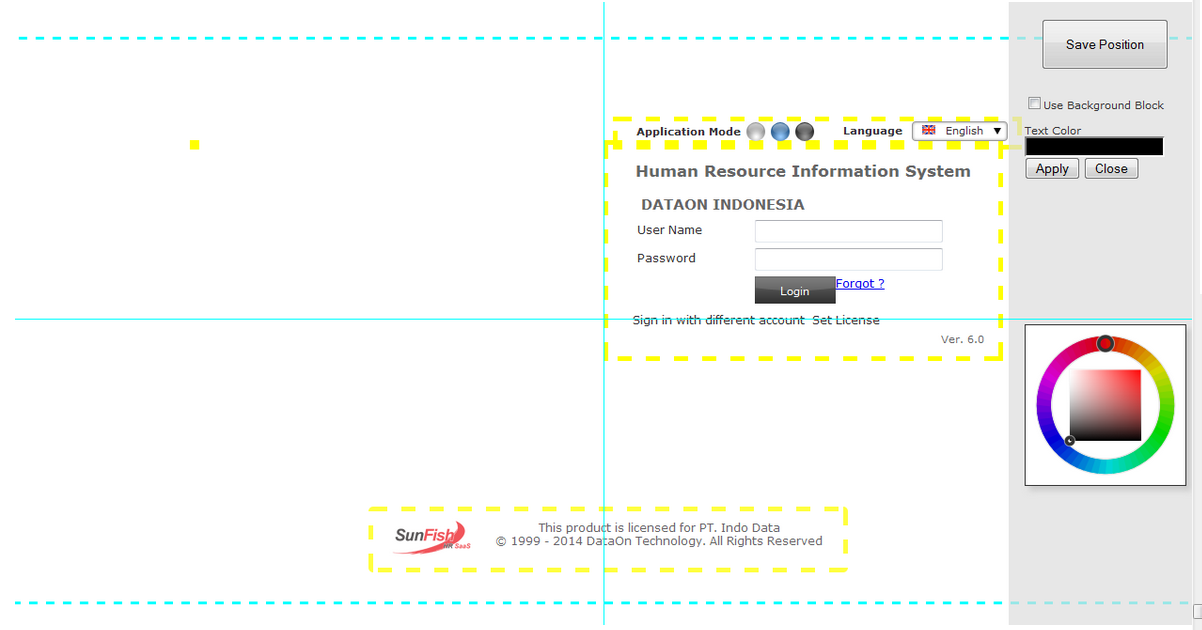
This page is divided into some parts:
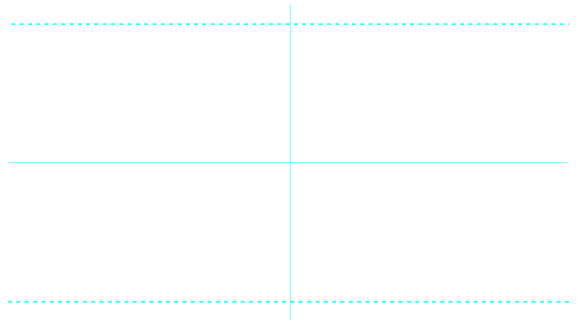
- Border Line
It functions as a distance gauge of the center line, and also both the top and bottom border lines.
- Forms
This part is a form in the login page, of which position can be changed. The form of which position can be changed consists of Color Theme, Login Form, and Footer. On the other hand, the Logo will appear only if the Logo Image is seletced, and its position can be changed in the login page.
- Layout Editor
This part functions to save the change of the position that has been made; the color change of "Background Block" (if selected) or "Text Color" by clicking "Apply" button, and it will be seen in the form. The color change in Background Color or Background Image can be performed by clicking the form twice.

- Border Line
- Background Color