View Access Profile
The authorized users may click  to show the selected employee's profile access, then the following page will appear.
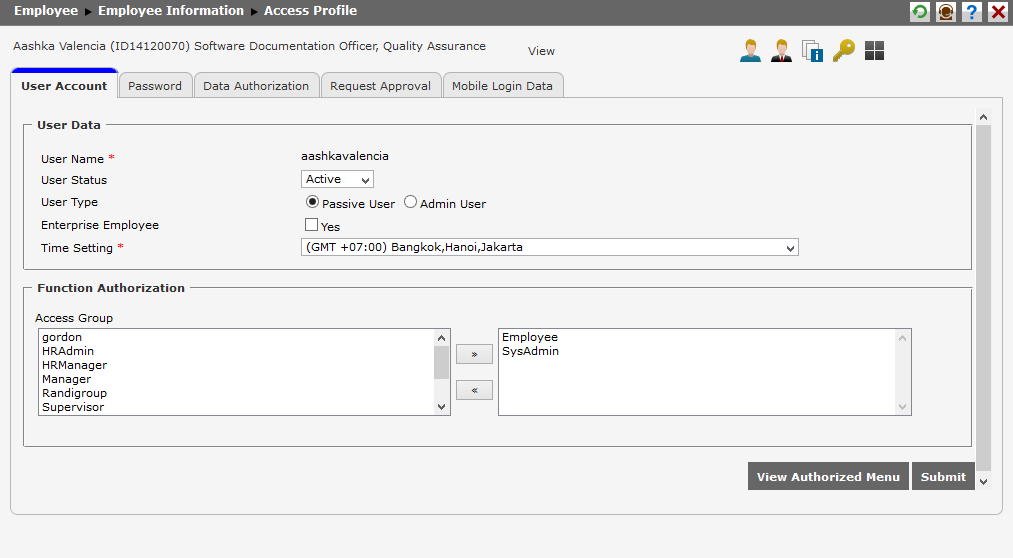
Users can see other information such as "User Account Setting", "Password", "Data Authorization", and "Request Approval".
User Account Setting
This page is used to configure the employee's identity into the system. It has User Name, User Status, and Time Configuration fields. To see the configuration of user's identity, click on User Account tab which looks like the following picture. 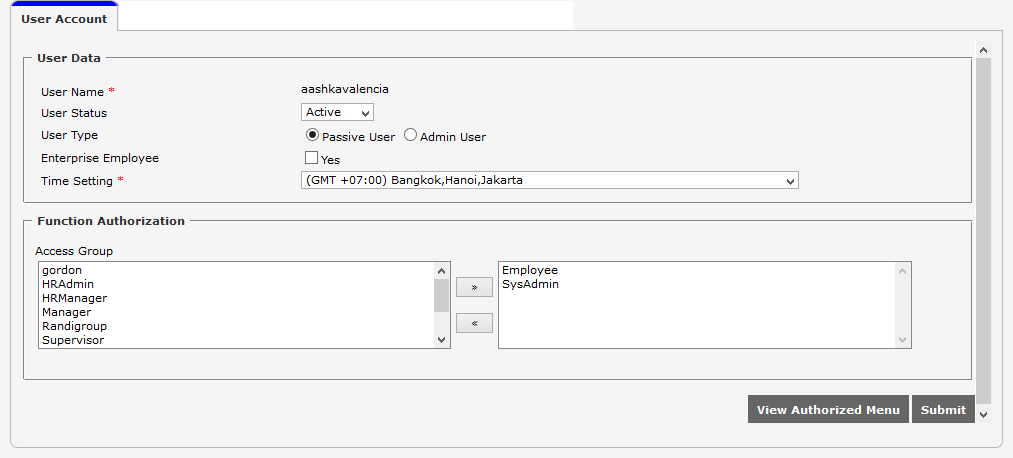
There are 2 parts in this tab:
1. User Data : The authorized users can see and determine the user identity by completing the following information.
-
User Status : Determine the status of user, whether it's active or inactive. If it's active, then the user may access the system. But if it's inactive, then the user may not access the system.
-
User Type : Determine the type of user which has an access to the system, whether it's passive user or admin user. If it's passive user, then the user listed as employee has the access limit of menus in SunFish system. Passive user only has access of ESS (Employee Self Service) menus. These ESS menus are the menus related to the request-approval function. Whereas if it's admin user, then the user listed as employee has access of menus based on access group determined in Function Authorization below.
-
Enterprise Employee : This checkbox functions as a marker whether or not that the employee is one of the Company Employees of which total is registered in Company's new account registration. If the employee is one of the Company Employees of which total is registered in Company's new account registration, then the authorized users have to select this Enterprise Employee checkbox. But if it's not, then the authorized users do not need to select it.
-
Time Setting : Set the setting of time which will be used to adjust the local time zone with the time in SunFish system.
2. Access Group : The authorized users can see and determine the user's access group by moving the selected access group name from the left box to the right box by clicking![]() . If the authorized users want to change the selected access group name, then they may move the selected name from the right box to the left box by clicking
. If the authorized users want to change the selected access group name, then they may move the selected name from the right box to the left box by clicking ![]() .
.
The authorized users can save the user identity setting by clicking ![]() , and see the menu access given based on the determined configuration by clicking
, and see the menu access given based on the determined configuration by clicking ![]() .
.
Back to Top
Password
In this tab, the authorized users can change the pasword used by the employee to access the system. There are 2 methods of password change appear in this tab, which are "Enable User Defined Password" and "Reset Password By Email". This tab is provided for the employee to change the password.

- Choose method of changing the password by clicking one of the radio buttons of the two options to change the password. These available two method options are set in Global Parameter Setting at Employee Setting tab. The functions of these two methods are:
- Reset Password By Email: This method functions to reset user's password by email. User will get the information regarding to the password change from user's email. The system will change the password to the new one which is sent to user's email.
- User Defined Password: This method can be used by the user to input and confirm the password by themselves. The user is required to input and confirm the same password. If 'User Defined Password' method is selected, then the following fields will appear.
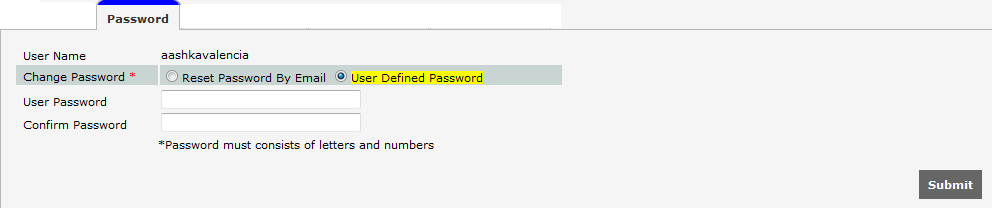
By this method, user needs to complete the following fields:
1. User Password : Input the new password in User Password textbox.
2. Confirm Password : Confirm it with the same password inputted in User Password textbox.
User has to input the password with minimum of 8 characters combined with the numbers.
Click ![]() to save the change of user password.
to save the change of user password.
Data Authorization
In Data Authorization, the authorized users are able to manage the employee admin group and data group. Open the Data Authorization tab to access this function, then the following display will appear.
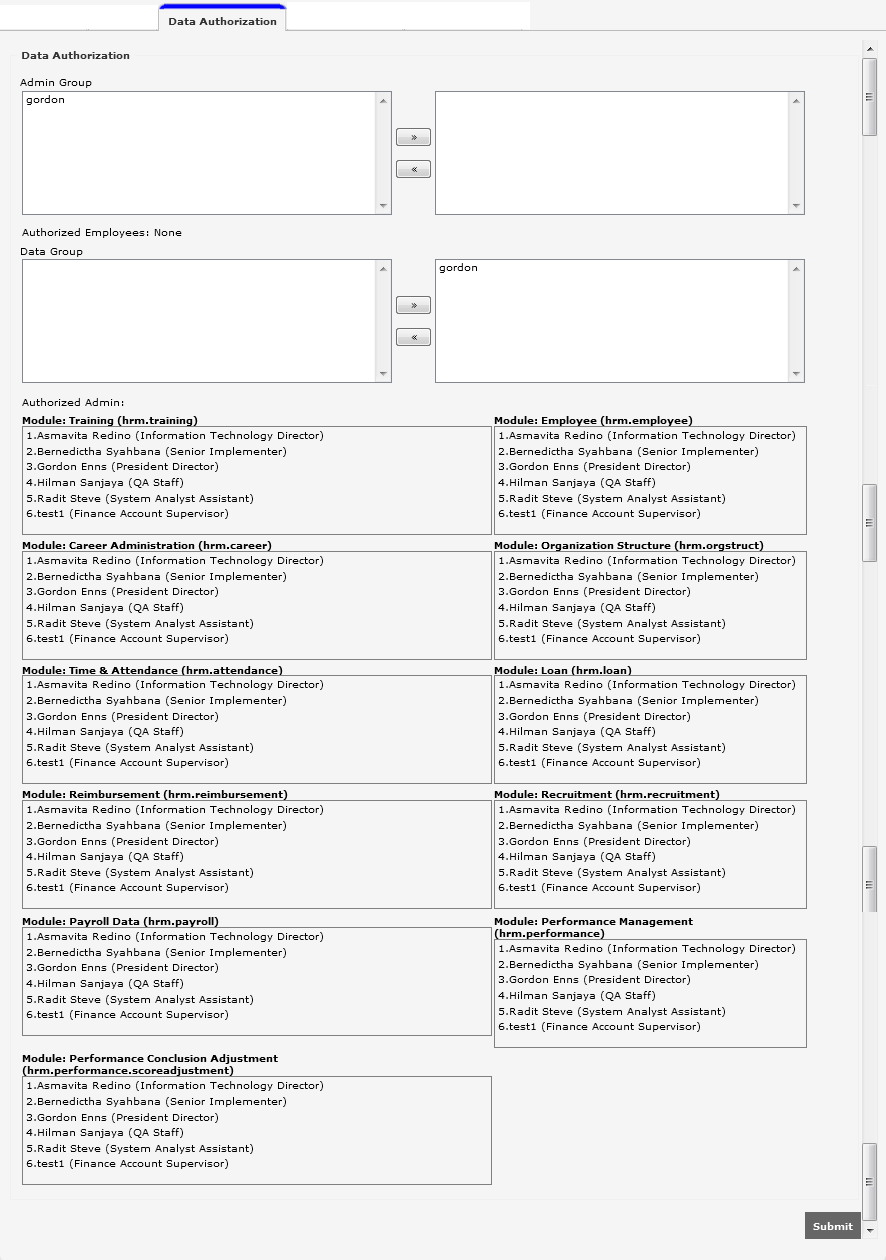
There are 2 parts that user can set in this tab:
-
Admin Group: User can see the data of other employees included in the admin group. In this part, user needs to choose and click the admin group name in the left box and move it to the right box by clicking
 . To choose more than one admin group name, user can click the names while pressing Ctrl or Shift button on the keyboard. User can also move the selected admin group back to the left box by clicking
  .
.
The Authorized Employees part shows the names of employees whose data can be seen by the relevant user. -
Data Group: User can see the employee data that can be accessed by the other employees who act as the users in the selected group. User needs to choose and click the data group name in the left box and move it to the right box by clicking
. To choose more than one data group name, user can click the names while pressing Ctrl or Shift on the keyboard. User can also move the selected data group back to the left box by clickin .
The Authorized Admin part shows the names of employees who have the right to see the data of relevant employee.
Click to save the configuration of data authorization that has been set.
Request Approval
This page only shows the approver and requester of the request, that is configured in Setting > Setting Management > Request Approval. To access this function, click Request Approval tab to show the following page.
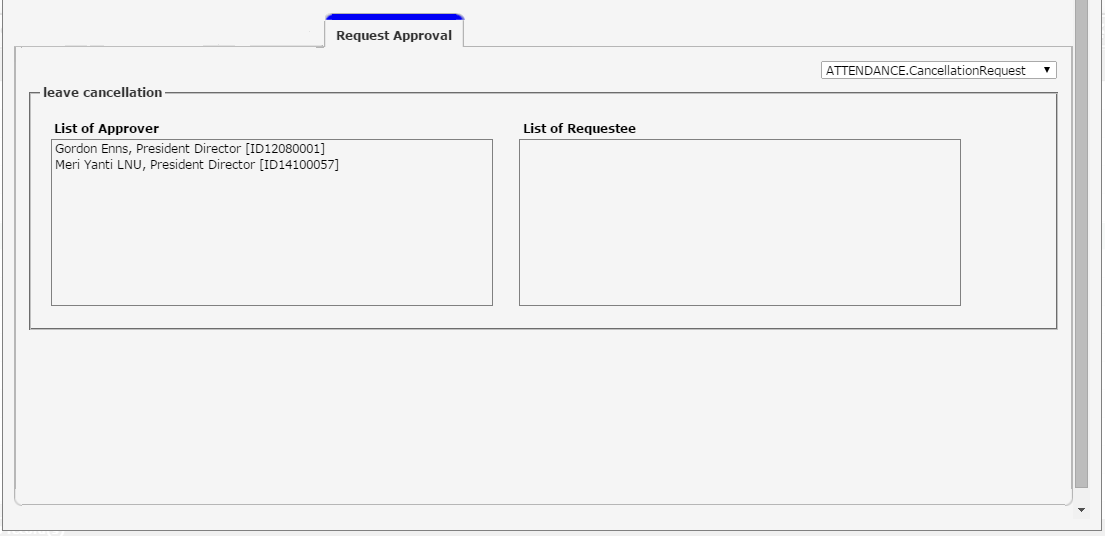
Select the request type at the top of the page. The approver will be shown in "List of Approver" while requester will be shown in "List of Requester".
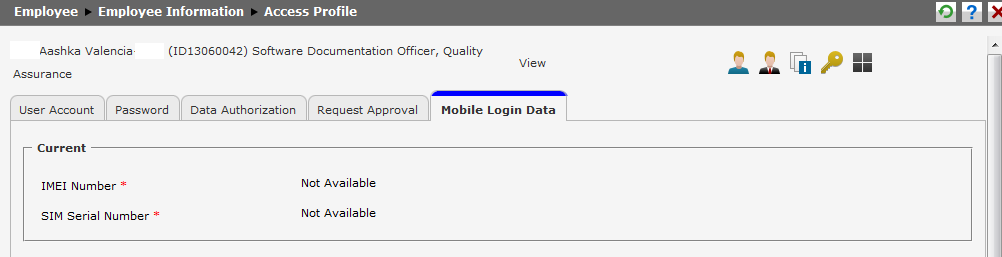
Mobile Login Data
This tab shows the sim serial and imei numbers used by the employee to log ion SunFish mobile. If the employee has never logged in SunFish mobile, then the sim serial and imei numbers will not appear as shown in the following.
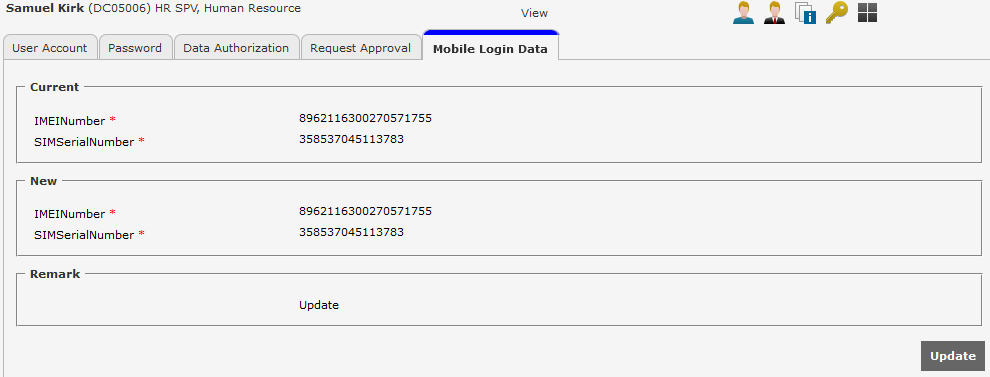
After log in SunFish mobile, the sim serial and imei numbers will appear as the following.

If the employee uses the different sim serial and imei numbers when logs in Sunfish Mobile, then the sim serial and imei numbers will be displayed as the following.
If user logs in as an approver, then there will be  button in this tab. The mobile login data of approver is based on the members set in function authorization of HR Admin and System Admin.